Creating a Horizontal Image from a Vertical Image for the Internet
Sometimes you will have a vertical image but it needs to be converted to a 1080 pixel wide horizontal image with a 4:3 aspect ratio for posting on Meetup and the GNPA website. I’ll walk through the process. This video from Matt Kloskowski helps to walk through the basic ideas.
https://www.youtube.com/watch?v=y91veIhKkhc
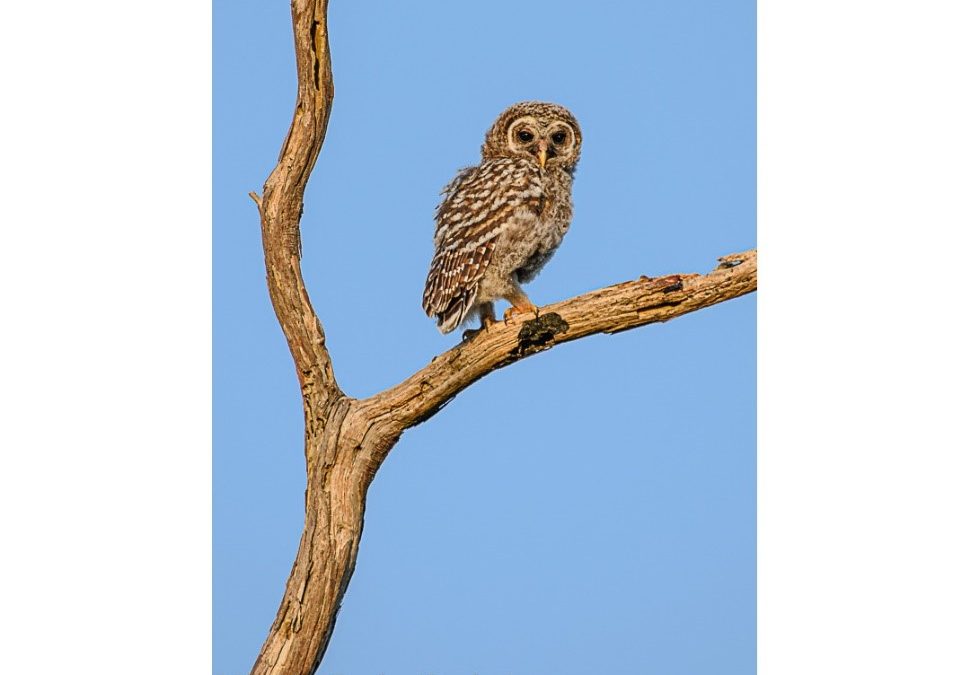
Here is a vertical image: We want to change this to a horizontal image for posting on Meetup and the GNPA website.
Start by Opening the Print Module in Lightroom. Open the Layout panel on the left side of the screen. I am creating the 8×6 User template so I can use it for this image and in the future.
First, create a Custom Layout with appropriate dimensions or a multiple of those dimensions. Select the + to the Right of the Template Browser. I am going to use 8 inches wide and 6 inches high for a 4:3 aspect ratio.
Add a single custom cell for the vertical image. You can choose any of the cell size options and then adjust the size as needed. I used 4.5 inches wide and 6 inches high – a 3:4 ratio that fills the 6 inch canvas height but that could be changed as needed. Be sure to fill the page height if you want to avoid having excess white space. You can use any size for the cell as long as it matches the height of your layout. The sides will simply have white space.
Drag the photo into the cell. Tweak the image dimensions on the page as needed so it fills the vertical dimension. If you have a different dimension, make sure the height of the cell matches the height of your layout.
Go to the Page Panel and add a watermark for the photographer credit.
Open the Print Job panel. Select Print to JPEG at top of panel. Set PPI so the image width in inches times PPI is approximately 1080 pixels wide. In this case it is 135 pixels which is 1080 pixels divided by the 8 inch width of the cell. Choose Standard Sharpening and Glossy Output. Choose Quality 70-80%. Set custom file dimensions to 8 x 6 inches to maintain 4:3 aspect ratio. Render as sRGB with Relative Colormetric.
Select Print to File at the bottom of the screen to create the JPEG. Name the file as desired and put it in the desired folder. Here is the resulting file.